Easy to Take Wheels on and Off Road Bike
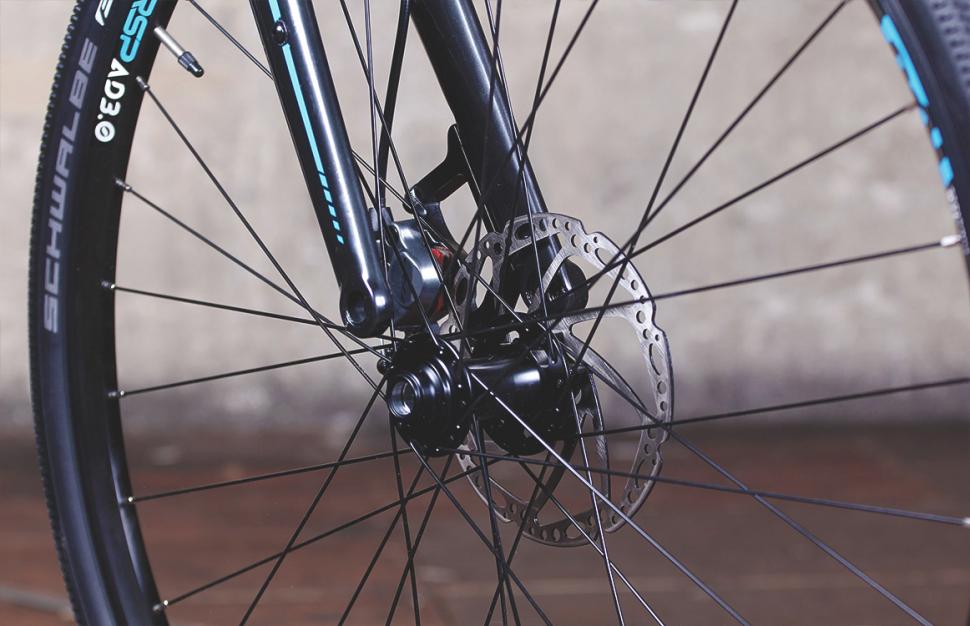
Increasing numbers of road bikes have wheels with bolt-through axles. The advantages are increased stiffness between the frame, fork and the wheels, and they make correct wheel alignment easier, especially if the bike uses disc brakes. Here's how to remove and fit wheels equipped with through-axles.
Our guide below shows you what we believe is the best method to fit and remove wheels with bolt through axles. If there are other methods that you prefer then feel free to let everybody know in the comments.
Removing the front wheel
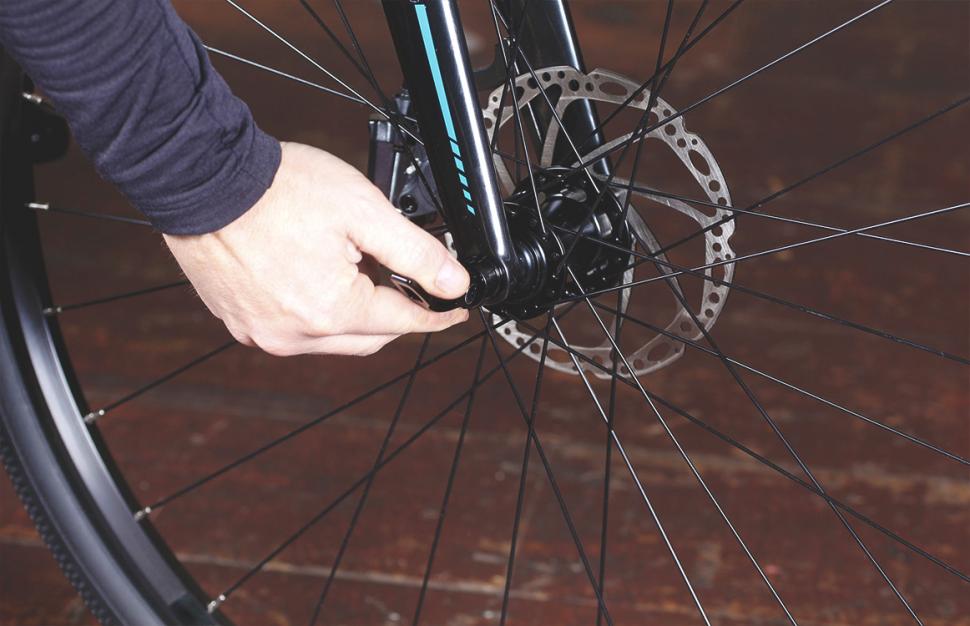
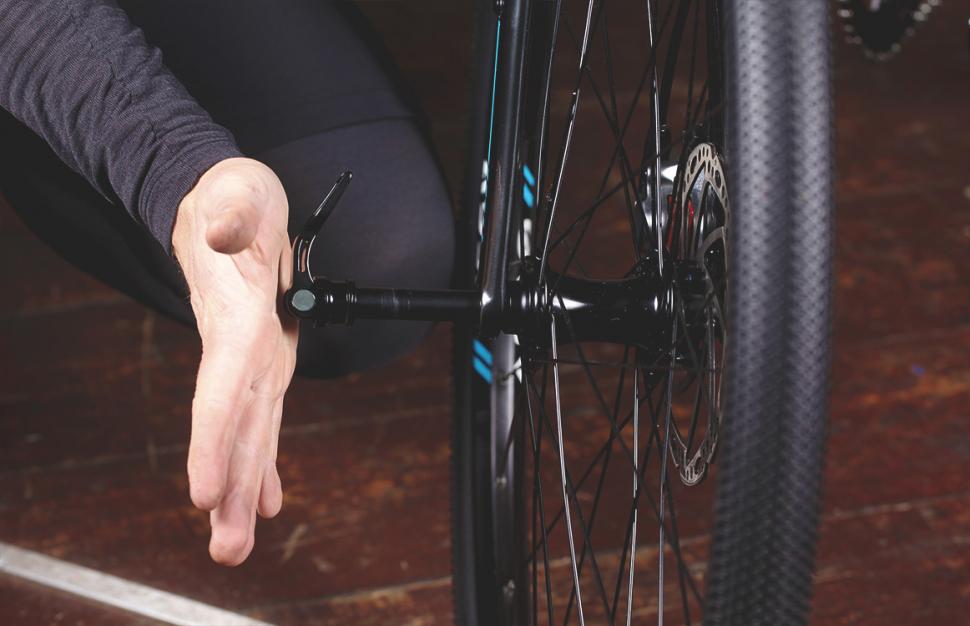
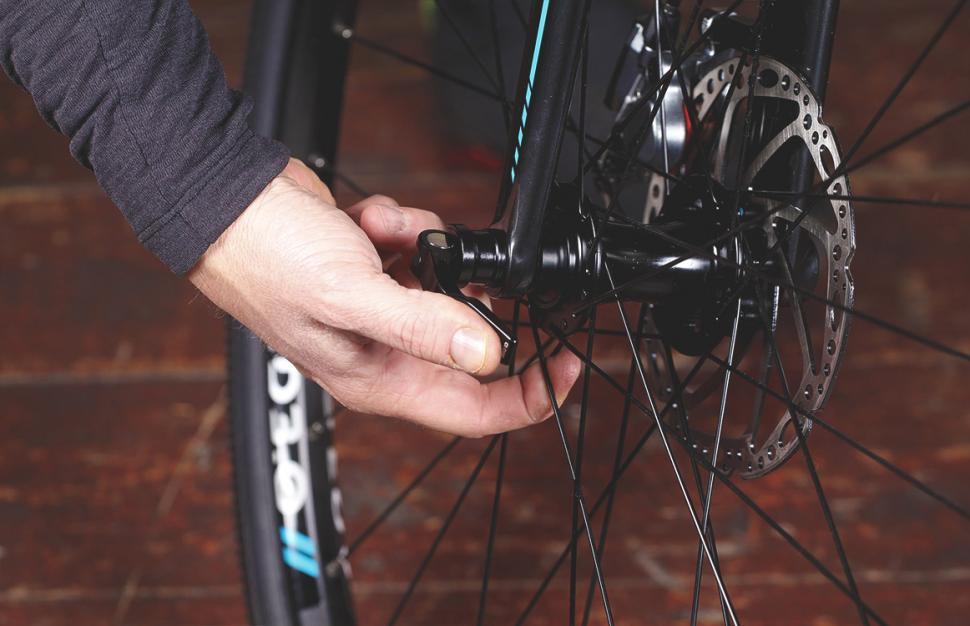
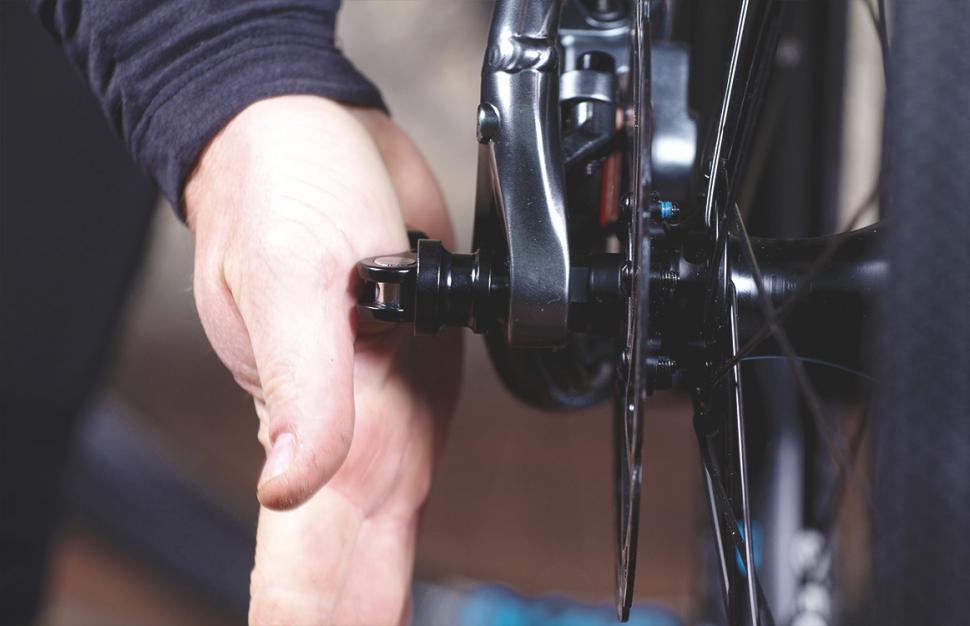
1 Open the leverJust like a traditional quick release lever, most through-axles also use a flip lever. This has to be opened in order to remove the wheel. Usually it will have a slightly curved shape and the curve should point in towards the frame (or fork) when closed and away from them when open.
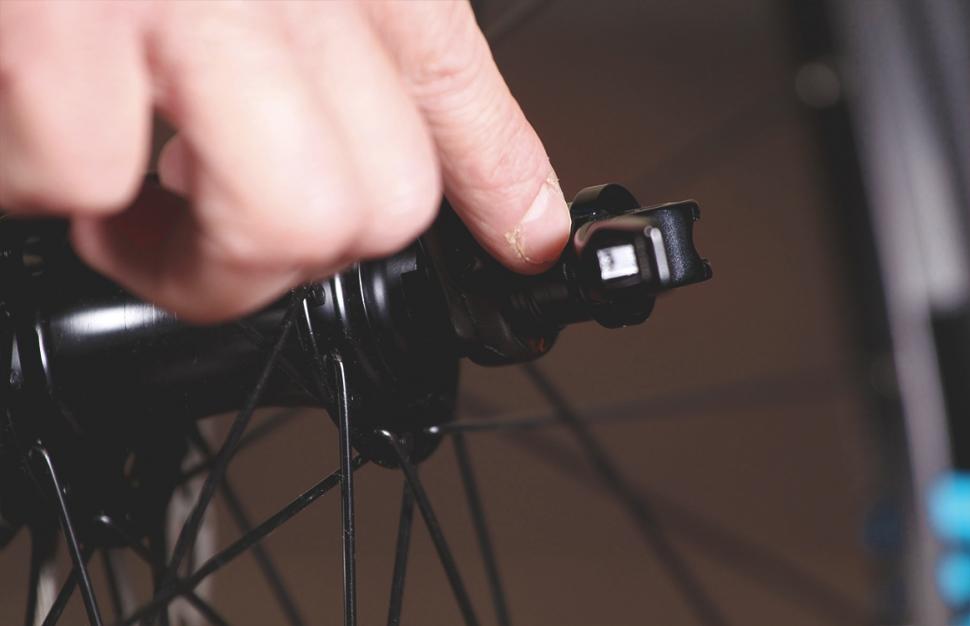
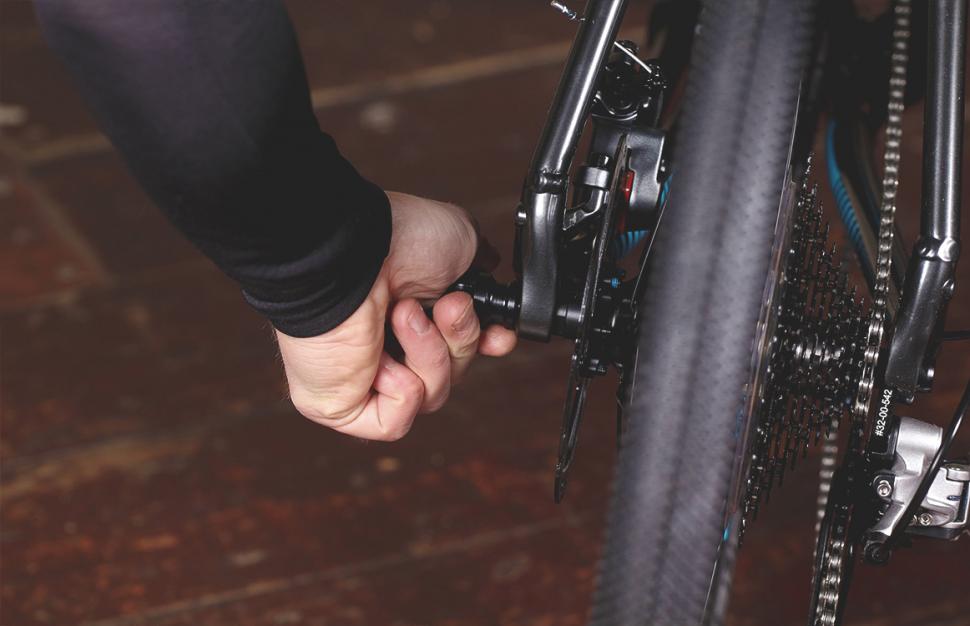
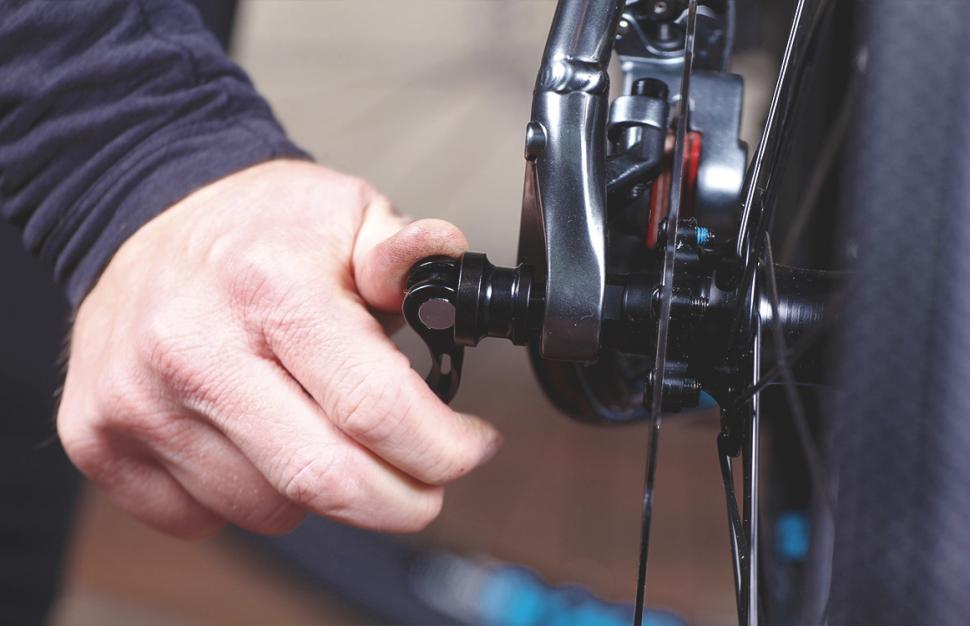
2 Locate the lever in the axle As you open the lever you must look for the recess in the alloy collar underneath the pivot. The back of the lever must sit in this recess, so that you can turn the axle and begin unscrewing it.
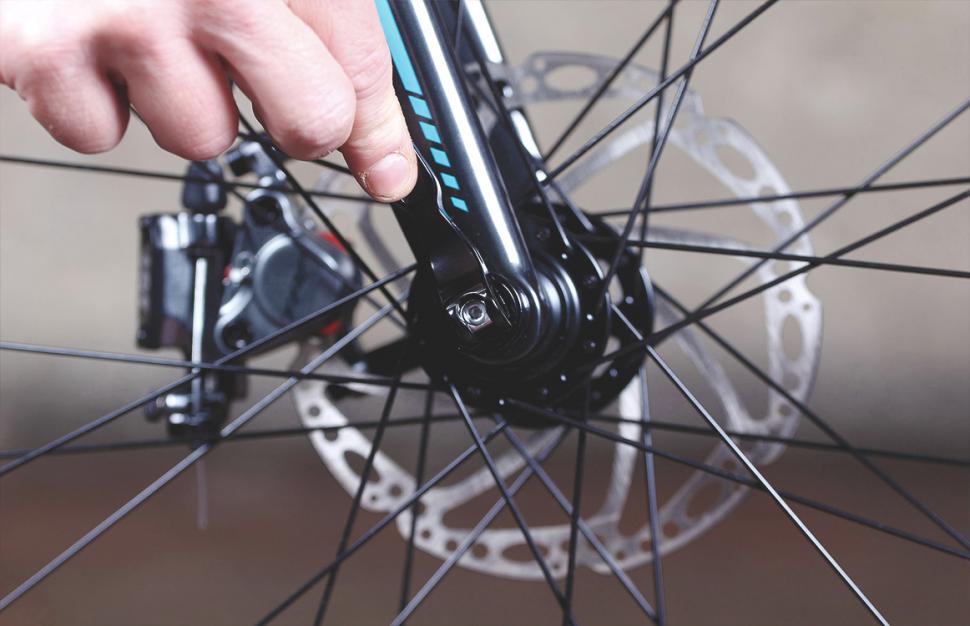
3 Unscrew the axleWith the lever engaged into the recess in the collar, you can rotate the lever. The lever turns the collar and unscrews the axle.
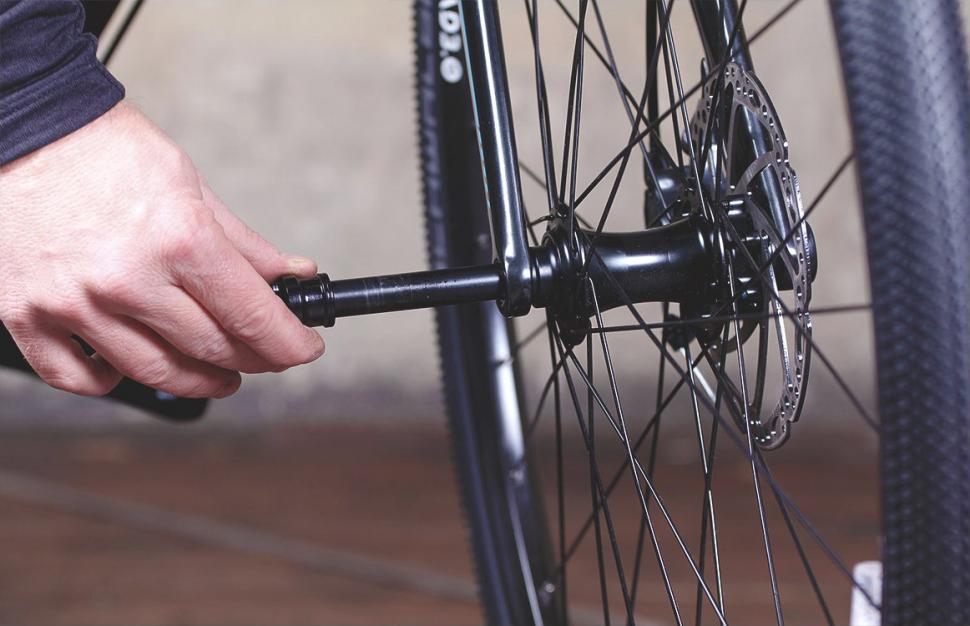
4 Pull the axle outAs you unscrew the first few turns of the lever, you'll feel the threaded portion of the axle (the bit which screws into the opposite drop out) disengaging from the fork. When you feel this, you can just pull the rest of the axle straight out.
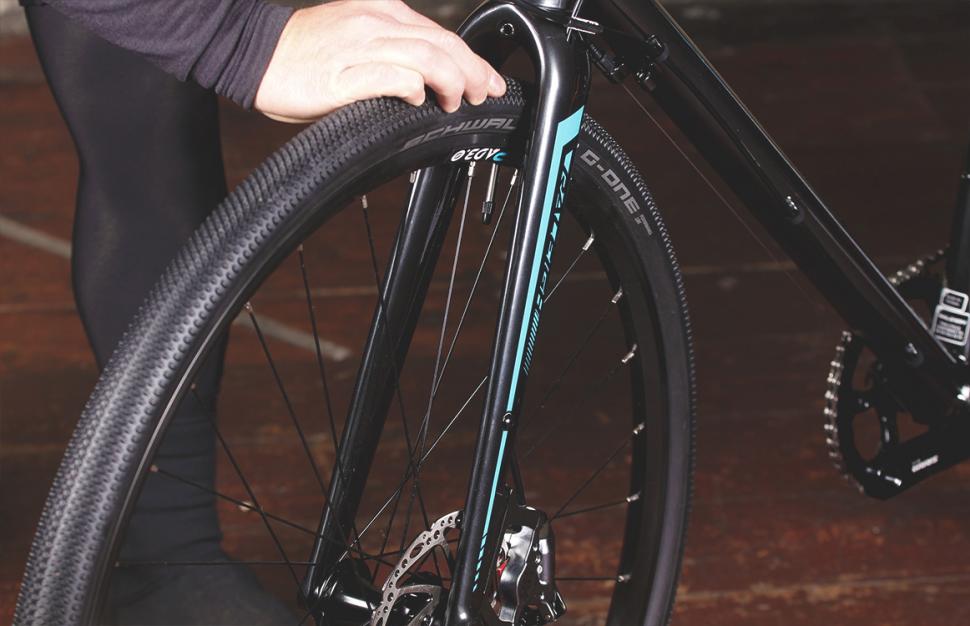
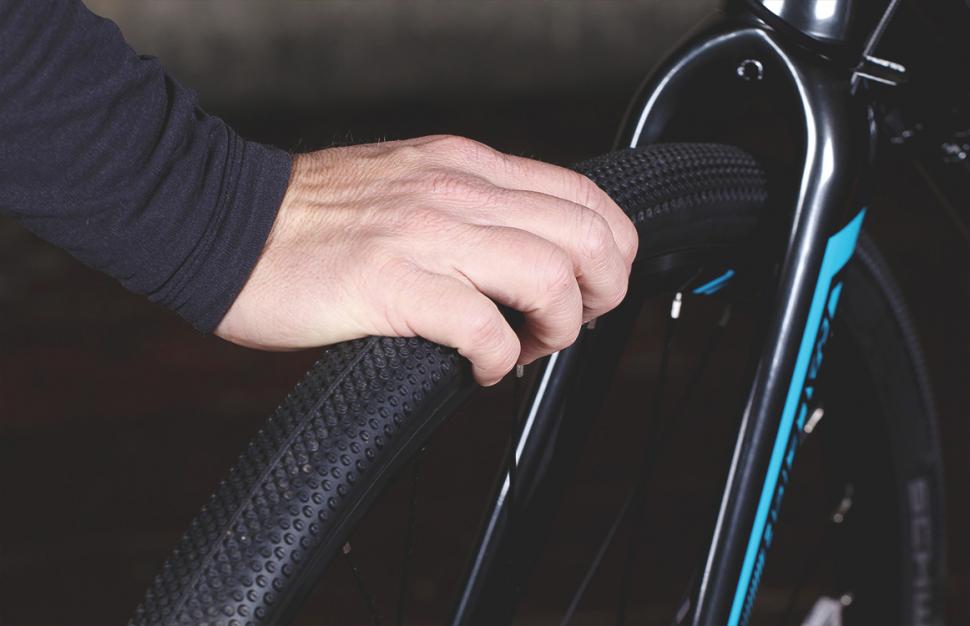
5 Drop the wheel outWith the axle removed from the fork, you can now drop the wheel out. Sometimes you'll need to give the top of the tyre a little tap, because the fork dropouts can grip the hub axle caps.
Refitting the front wheel
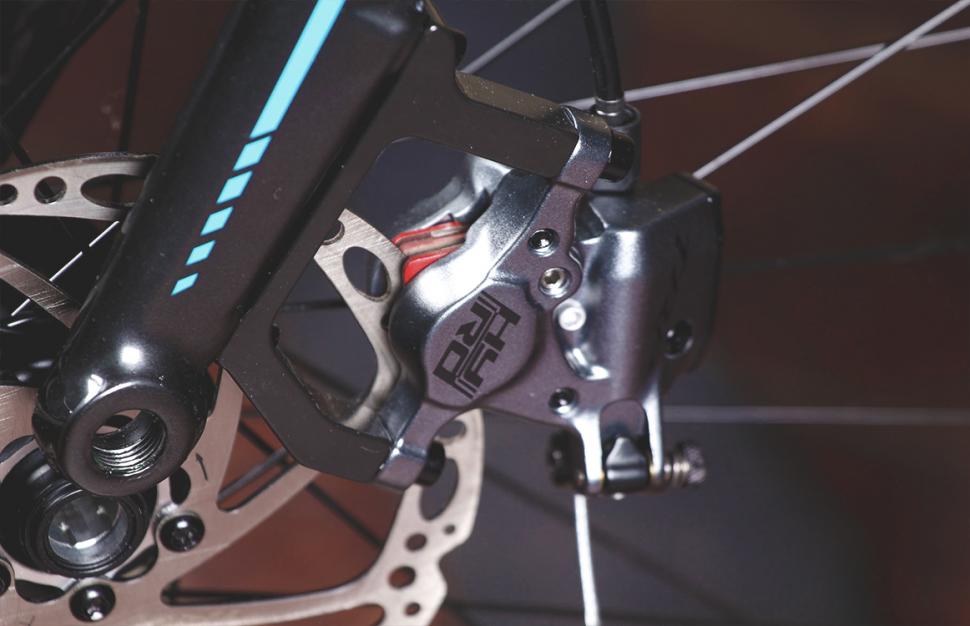
1 Locate the rotor in the brake and hub in the drop outs When refitting the front wheel in the fork, make sure the disc pads aren't dislodged. They shouldn't be as they're pinned in, but it's happened to us before. We've also mangled a pad carrier spring, so get the rotor lined up before you try and slam the wheel into position.
2 Check the wheel's in positionAs the disc rotor enters the calliper the wheel hub axle ends will find their slots in the fork. Some times a gentle wiggle and pull on the top of the wheel is needed to get everything seated and centered. Make sure the wheel is centered; if it's off the axle won't pass through the hub and engage cleanly.
3 Slide the axle inWith the wheel now sitting squarely in the drop outs and brake calliper, it's time to fit the axle. They only fit from one side, usually the right hand (non disc) side. This keeps the lever away from a potentially hot disc brake rotor. On some hubs the central tube through which the axle passes inside the hub body can float about a bit and not immediately line up. This can make engagement with the threaded portion of the opposite fork leg a bit tricky. If this happens, you'll need to waggle and turn the axle at the same time to gently to align this tube and engage with the fork thread.
4 Screw in the axleWind the axle lever in to pull the fork legs together. Check to feel the action of the lever assembly, you should need some force to flip the lever to closed, though not as much as a traditional open dropout quick release lever, as once closed there is no way for it to allow the wheel to fall out. Fold the lever over into the closed position.
5 Check it's tightGive the top of the wheel a little wiggle just to make sure it's firmly held. If that's fine give the wheel a spin to check the rotor is running cleanly through the brake calliper.
Removing the rear wheel
Removing the rear wheel seems to cause many people headaches. True, the design of the drop outs on some bikes does make it a little tricky, but there are a few tricks to help make it as quick and easy as possible.
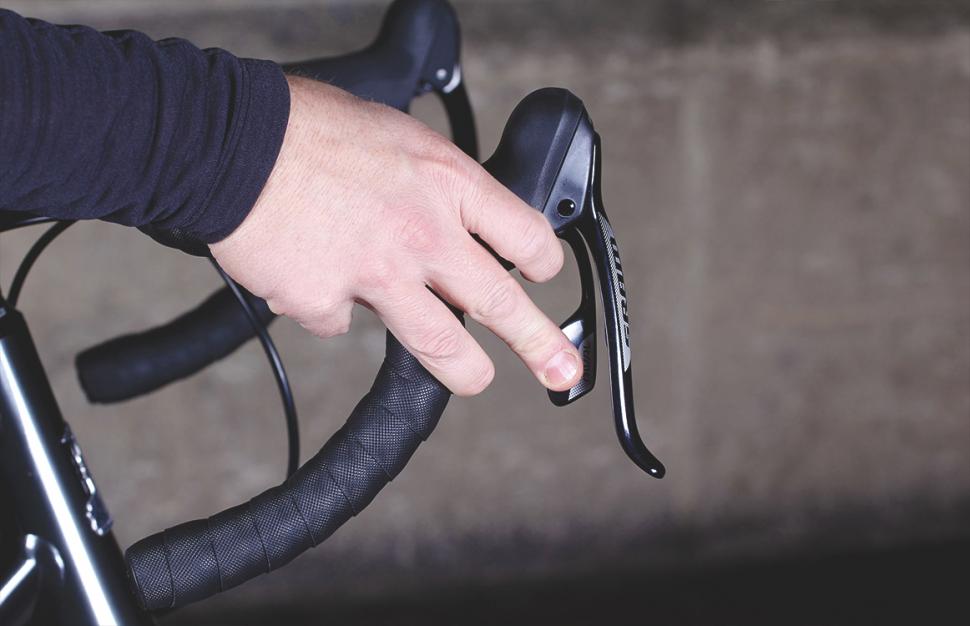
1 Downshift to the smallest sprocket You want to let the rear wheel drop out of the frame as easily as possible. If the chain is on anything other than the smallest sprocket, tension in the rear derailleur and interference between the sprocket and jockey wheel will make it harder to drop out the wheel. The further up the cassette the chain, the more likely it is that you'll have problems.
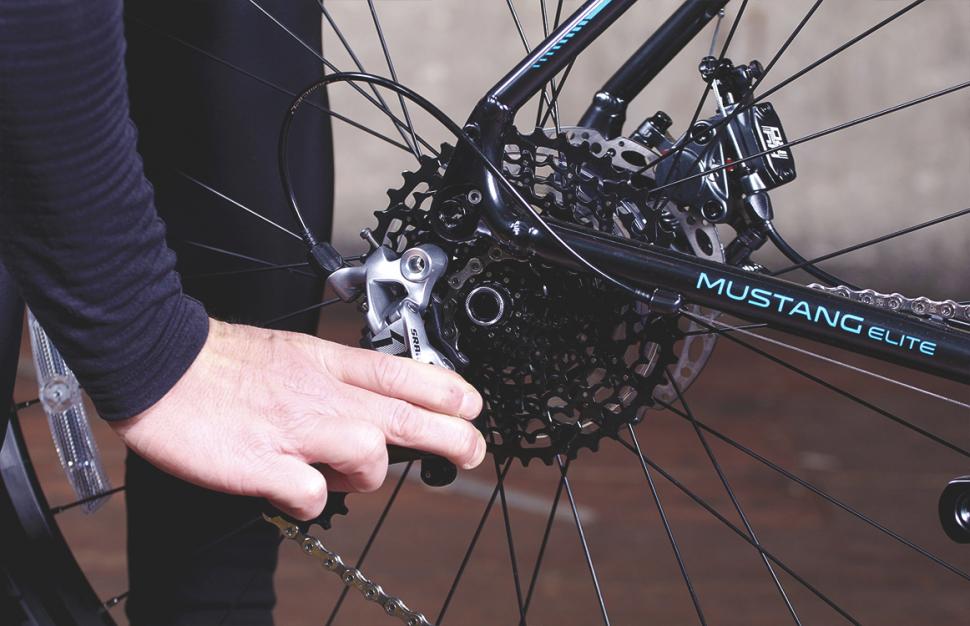
2 Undo the leverFlip the rear lever to the open position, as you did for the front wheel. Engage the back of the lever into the carrier recess and unwind the threaded end of the axle from the drive side dropout. When you sense the clunk of the thread releasing, you can slide the axle out of the wheel.
3 Let the wheel outFor a standard rear derailleur pull the body of the derailleur backwards and the rear wheel should fall out.
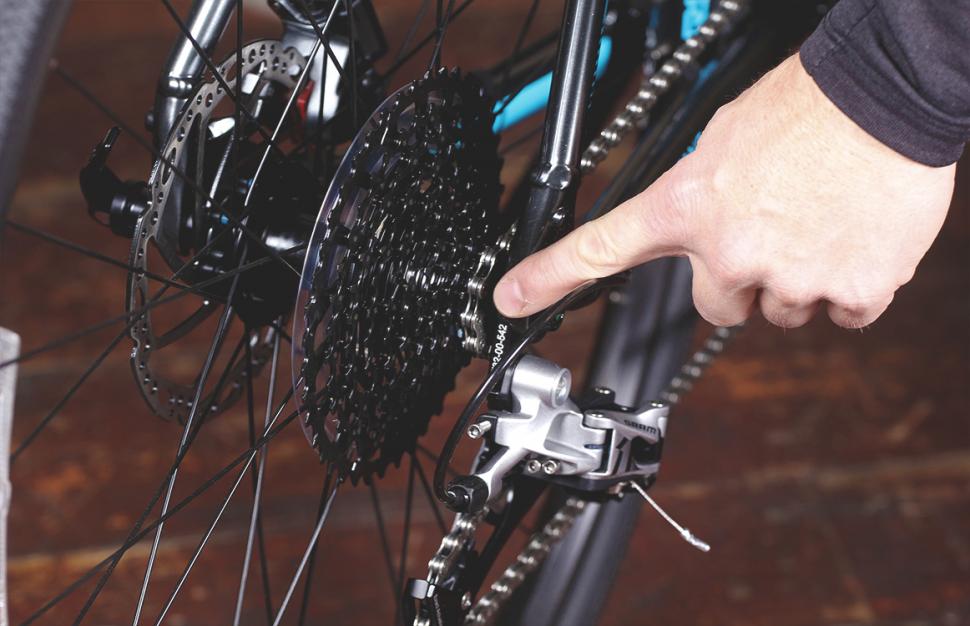
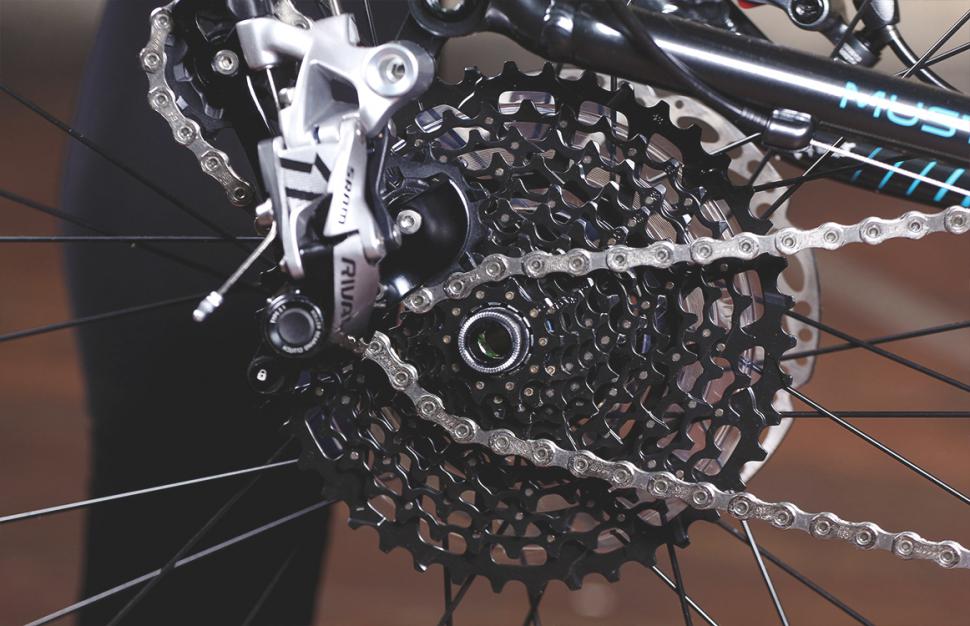
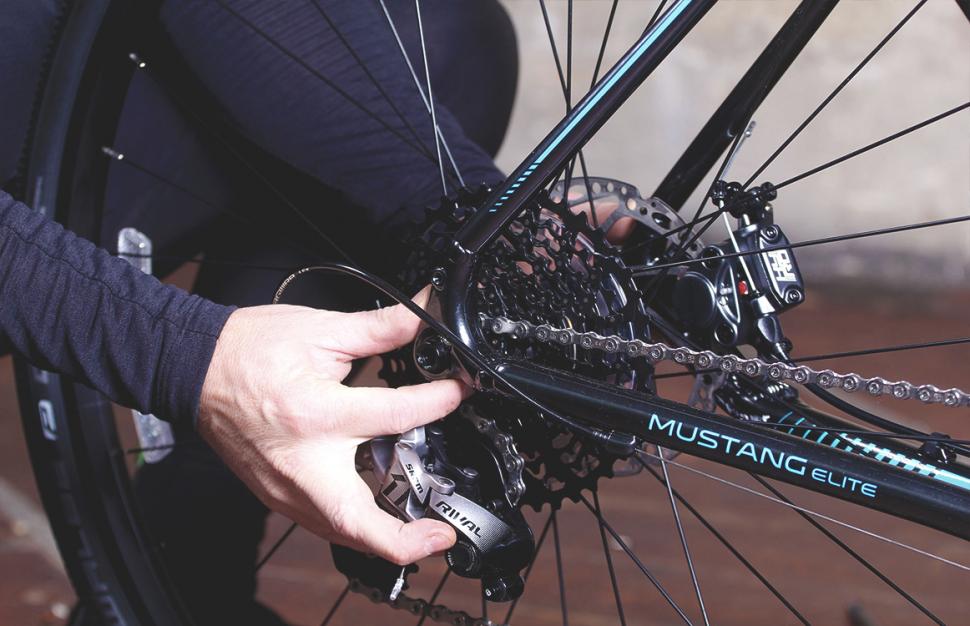
If you have a SRAM Type 2 rear derailleur (as shown), depress the lock button and swing the arm of the derailleur forward to lock it. This creates a slack chain. The wheel will now release from the frame, it night take a little nudge on the top of the tyre to get it moving. Similarly for a Shimano Shadow type clutch rear derailleur, move the clutch switch to the off position.
With the chain now slack you can pull the derailleur body backwards to create an obstruction-free path for the axle (the silver circle in the centre of the black cassette, above).
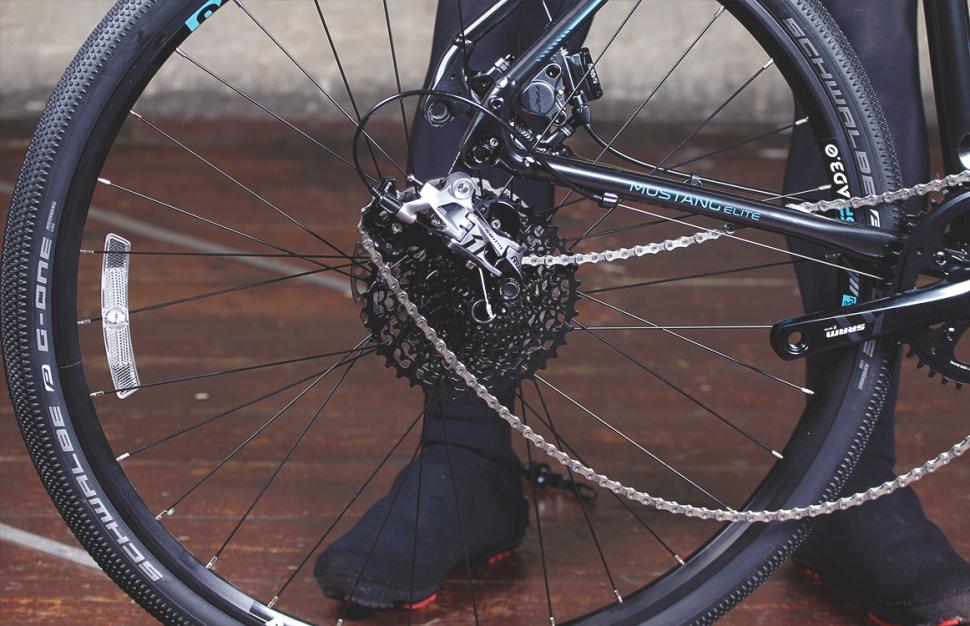
4 The wheel out The wheel is free from the frame and disc brake.
Refitting the rear wheel
This can be a little more tricky, as you have to simultaneously line the chain up on the sprockets, guide the disc rotor between the brake pads and into the calliper, and ensure the axle is going to line up with the frame drop outs.
1 Position the sprocket and chainLine up the top run of chain so that it sits on the smallest rear sprocket. Ensure the lower run of chain is running below the axle.
2 Pull the wheel into placeIt should just be a case of bringing the wheel and the frame together gently to get a fit, but you often need to guide the axle with your fingers. Mind out for sharp edges. There should be a sense of the axle hitting its dropout stops and sitting squarely in the frame. Check the tyre position in the seat stays, if it isn't central, it's not properly seated. Pull the wheel out for another go. As you get to know your wheels and frame and the way they fit together become more familiar, you'll find the process becomes easier.
3 Replace the axleWith the wheel lined up you can reinsert the through-axle. Try gently rotating the axle as you insert it, it can help the axle move through the hub.
4 Screw the axle into placeWhen the threaded end of the axle touches the far drop out, make sure the lever is open and begin to wind the lever to engage the axle and frame threads.
5 Tighten the axleMake sure its tight enough to stop any movement between the hub and frame and close the lever.
>> Read more: The full archive of road.cc maintenance articles
- If you are looking for more bicycle how to tips, then click here.
Source: https://road.cc/content/feature/how-easily-fit-remove-through-axle-wheels-171353

0 Response to "Easy to Take Wheels on and Off Road Bike"
Post a Comment